Monday, December 31, 2012

Easy Street - Rapid Fire Finish

Here are the two triangles Bonnie had us put together today with some of the segments we've previously pieced......12 of the large and 4 of the small.  But that still leaves us with LOTS of other pieces that have to go somewhere.  The FINAL part is coming tomorrow - New Year's Day!!  Yea.......the mystery is almost solved!!


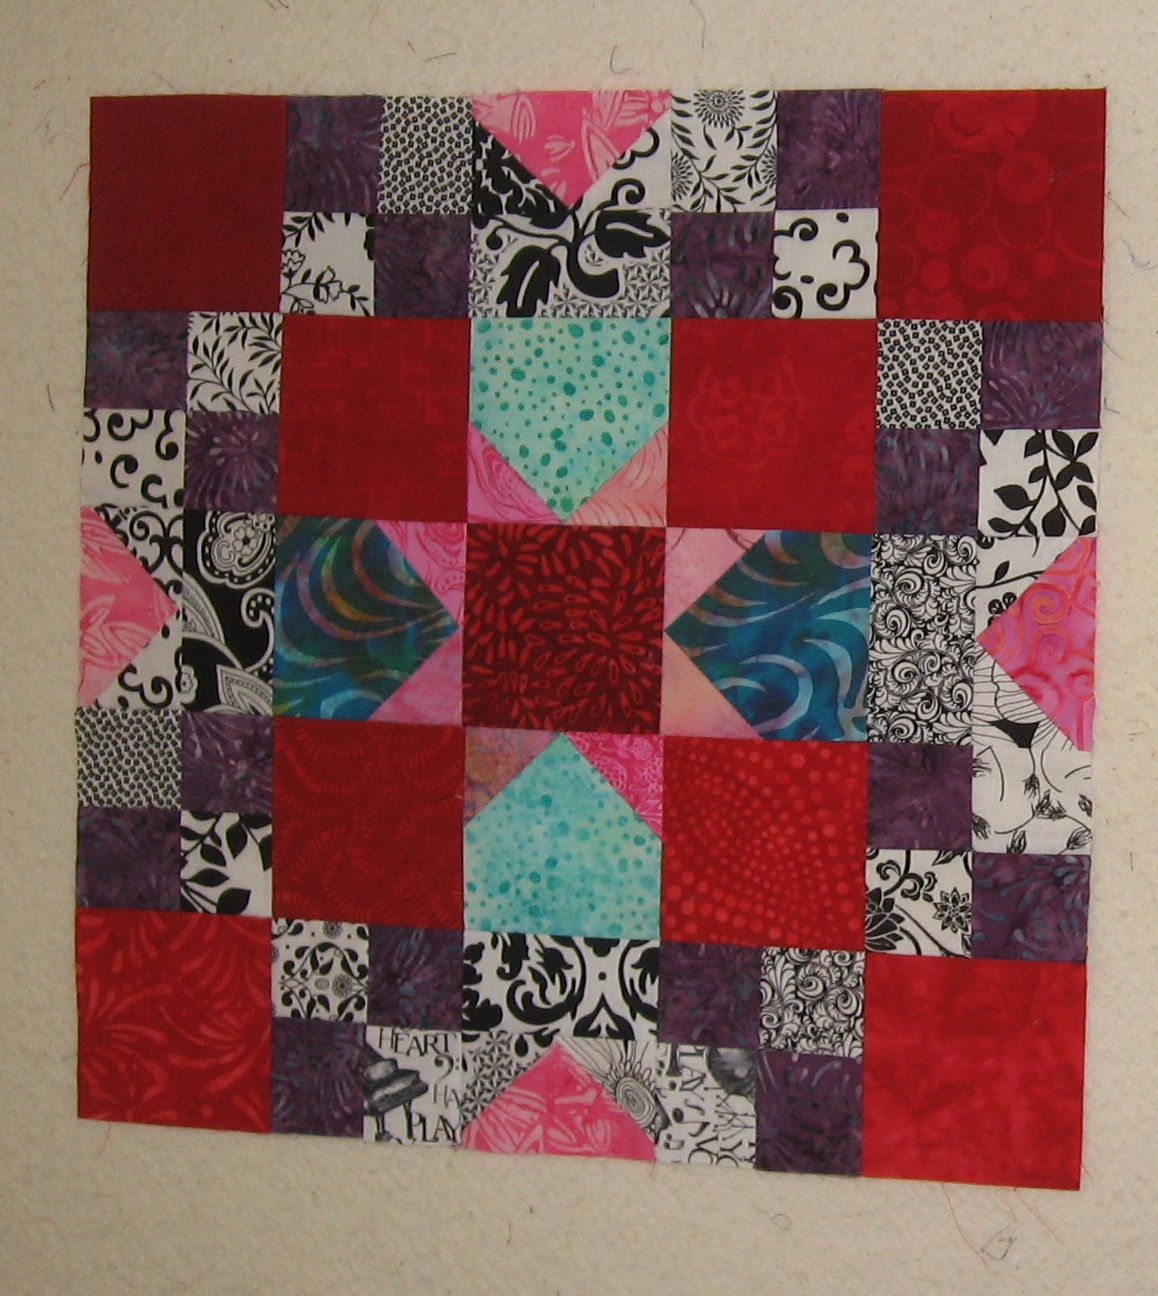
Okay.......got the Final Part on New Year's Day........here are the two blocks we are now assembling to go with the setting triangles we pieced yesterday for the final layout of the quilt top.  Will post my completed top in a few days........be on the lookout!!!


Friday, December 28, 2012

Scraps and Strings

I have been motivated by doing the small pieces in the Easy Street mystery to get my scraps organized.  I spent all day yesterday cutting up my larger scraps into 2" strips.  I have always saved "strings" so I pulled those out, sorted through them and pulled out all that were at least 2" or more and added them to my 2" strip stash.  So now I am ready to try one of Bonnie's free patterns, or one of her free blocks from the Quiltmaker magazine that uses a lot of 2" strips..........but not until I am finished with Easy Street!


Strings
And I plan to start making string pieced blocks as soon as my paper cutter arrives and I get the phone book cut up into squares.

Easy Street - Part 6

 
Okay........I'm ready for Bonnie's "rapid fire finish."   Here are samples of my black and white Double Bricks and my red (rather than green) quarter-square triangles from the 5-1/2" squares.  Can hardly wait until Monday for Part 7.


Tuesday, December 25, 2012

Stormy Night

Since we are having quite a thunderstorm with heavy rain and wind and the noise is keeping me awake, I decided to share a few more of my favorite quilts.


This one is called Ada's Stars done in black & white fabrics.  A quilting acquaintance designed this quilt and taught a class on it at a quilt shop where I once lived.  Her sample quilt was done in earth tone prints and the stars were all beige, but I knew as soon as I saw the pattern that I would do black and white.

The two quilts below are a couple of my scrappy quilts, which I love to do.  On the left is a fan wall hanging and on the right is one called Trip Around the Scrap Basket from a book called Slice 'Em and Dice 'Em.


I hope anyone who is in the midst of the severe weather we have had this Christmas Day is safe and well and not had too much damage.

And here's my Spider Web quilt.......made from small scrap strips of batik fabrics, with the first Seminole border I ever did.

 
Well, the sirens are sounding so I turned the TV on for a report.......the warning is for an area further east than where I am and actually, the rain has finally stopped here for now.  Maybe I can go back to bed and get some sleep.

Saturday, December 22, 2012

Easy Street - Part 5

I have all 64 of my Part 5 blocks finished........here is a sampling.  For more variety in these blocks, I had to pull from my regular cottons, so I have those mixed in with my batiks now.  But I'm still very pleased with the way everything I've done so far looks.  Can't wait to see it all come together!  Still can't imagine how all the parts are going to fit.


This block didn't have a name........sorta looks like little houses against a pink sky to me.

Friday, December 21, 2012

Lil' Twister Update

I have finished three of my Lil' Twister Pinwheel blocks.  These are really fun to do!
 
Bonnie sent out Part 5 of our mystery quilt today, so I'm going to be working on that next.......will get back to my pinwheels later.


Wednesday, December 19, 2012

Lil' Twister Pinwheels

I have a lot of batik scraps and have been trying to decide what to do with them.  Came across the Twister and Lil' Twister tools that my sister loaned me a few months ago and decided that would be a good project for my batiks.  The first step was cutting the scraps into 5" charm squares, since I decided to use the Lil' Twister.  Then I put 30 squares together with a 3" border, and ended up with this block measuring 23-1/2" x 28".  After cutting out the "twister" blocks and putting them back together, the finished block will measure 18-1/2" x 21-1/2".   


After getting this first 30-patch block together, I took the Lil' Twister and started cutting across one of the long edges, lining up the "crosshairs" on the tool with the seams between the blocks (and for the first row, between the blocks and the border).  The tool has little legs on the bottom so you don't have to worry about trying to make it lay flat where the corners meet.  Start cutting on the right edge and move to the left.


As I cut each Lil' Twister block, I laid them to the side keeping them in the same order in which I cut them.  When I got all the blocks cut across one row, I stacked them from left to right, took them to my machine and sewed that row together.  And YES, they do have bias edges after cutting with the Lil' Twister tool, so I had to be very careful sewing and pressing.


I didn't get to my sewing room until about 7:00 p.m., so I only got three rows together before deciding to call it a night in my sewing room and do this post.  After adding the second row, you start seeing the pinwheels.