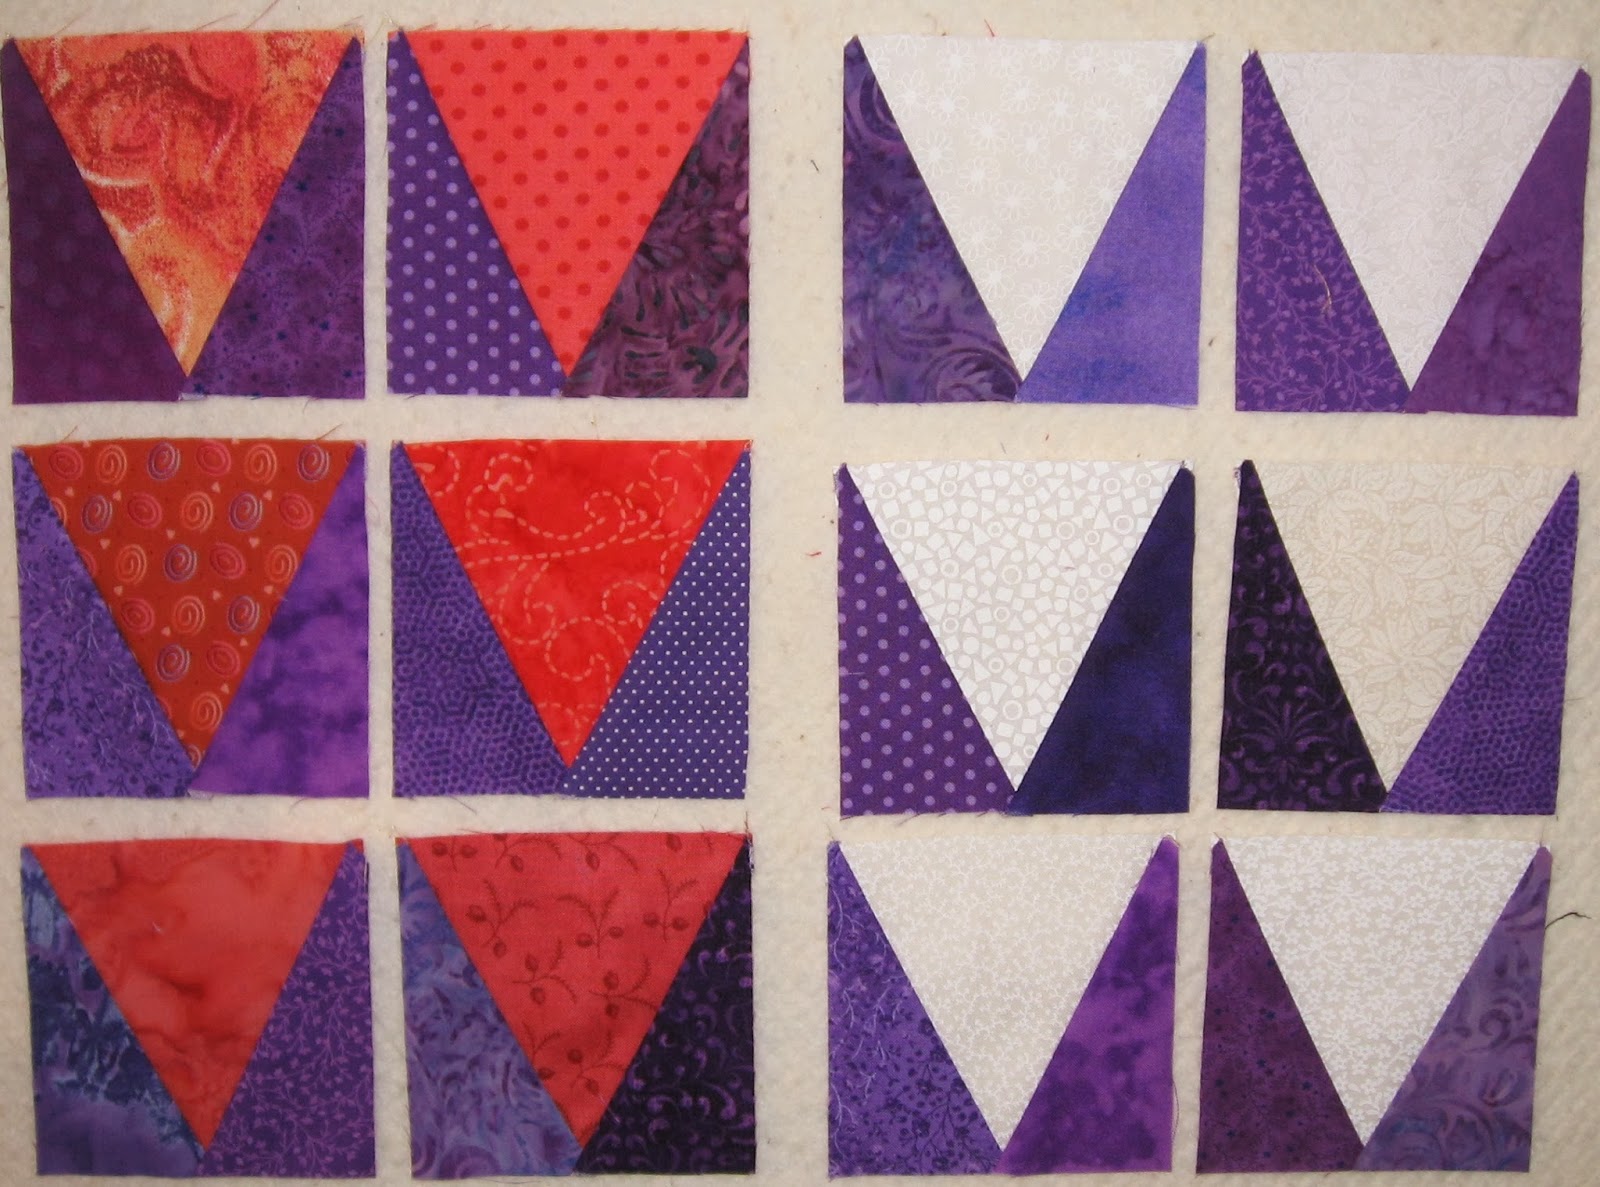
I saw the Bamboo quilt in a shop near Hickory, NC, when visiting my sister a few years ago. When you purchase the required amount of fabric for a particular size called for in the instructions, construct the number of blocks called for with the simple strip piecing method, cut that block on the diagonal, you will get enough blocks for two completely different quilts that size. The pattern is called Bamboo and Pinwheels by Diana McClun and Laura Nownes. Here are the two twin size quilts I got using a variety of batiks from my stash.
Bamboo
Pinwheels
Sunday, May 4, 2014
Thursday, March 20, 2014
Quilts for the Grandkids
My brother asked me to make quilts for his three oldest grandchildren to have when they come to visit him. He has a set of Twin XL bunk beds he built, as well as a twin bed. Jordan, who is 9, likes orange. Morgan, who is 8, likes pink/purple. Ethan, who is 7, likes red. So here are the quilts I made for them.
Quilt Blocks for MS
Someone shared a Facebook post about Quilt Blocks for MS......since I had fabric scraps in all the colors requested for the blocks, I decided to do a scrappy quilt to donate. I made four-patches, then cut 4-1/2" squares to pair with them to make a block. Laid them out in this format. The only fabric I had to purchase was for the outer border and the backing. Sew much fun to do a quilt when you have so much of the fabric already in your stash!!
Saturday, January 11, 2014
Scrappy Trips
Another Bonnie Hunter freebie. I had bunches of 2-1/2" strips of batik scraps already cut, so decided to try this pattern. Ended up making it queen size.
Monday, January 6, 2014
Celtic Solstice Mystery
It's time for another Bonnie Hunter mystery. These are my fabrics. I am using a variety of off-white tone-on-tones for my neutrals. My other colors are coral, teal, lime, and purple. MY GRANDDAUGHTER, SARAH EMILY, WANTED ME TO BE SURE AND LET EVERYONE KNOW THAT THIS ONE IS FOR HER!! So I will be adding borders to make it large full size.
We received Part 1 this morning. I have a Christmas quilt I have to get quilted and in the mail ASAP, so I have not started on the mystery but I do plan to have something ready to link on Monday.
Finally got started on Part 1 and below is a sampling of my star-point blocks, cut with my Tri Recs tool. I made 92 with the coral triangle and 96 with the white. These are 3" finished units. Looking forward to Part 2 on Friday.
Part 2 received on Friday, December 6, to make 100 of these "chevron" units, which will be 3" finished. These are using my teal (it might look more blue in the picture, but it is teal) and lime/chartreuse fabrics, along with more neutrals.
Part 3 received on Friday, December 13, to make 200 - 2" half-square triangle units (using my coral and lime/chartreuse fabrics), which will be 1-1/2" finished. Using 100 of these units, we are to make 25 pinwheel units, which will be 3" finished. I used the Easy Angle ruler to cut my triangles and have made 100 of the half-square triangle units and six pinwheel blocks so far. Will have the rest finished before Part 4 comes out on Friday.
Part 4 received on Friday, December 20, to make 120 4-patch units that will be 3" finished, combining teal and coral this time. Am still working on them, but have finished enough to share here.
Part 5 received on Friday, December 27, to make 100 of these units, using the 100 half-square triangles made in Part 3. Neutral triangles were added to either side of the half-square triangles already made, then a large purple triangle was added to finish the Part 5 unit. This unit, as all others, will be 3" finished. I still have about 50 more to make, but I have been grand-dog and great-grand-dog sitting this weekend and have had numerous interruptions. I will have them all finished before Part 6 comes out next Friday, though. And I am hoping that the final layout will be revealed soon!!
We were surprised with Bonnie sending us the final layout for our Celtic Solstice on New Year's Day. Here's what I have finished so far. I am planning to add an additional border at the top and bottom, then two more borders all the way around to make it a rectangle shape for my granddaughter's full size antique four-poster bed. Still have to shop for the border fabrics, which I plan to do at the end of the week. Will post the finished top later.......
We received Part 1 this morning. I have a Christmas quilt I have to get quilted and in the mail ASAP, so I have not started on the mystery but I do plan to have something ready to link on Monday.
Finally got started on Part 1 and below is a sampling of my star-point blocks, cut with my Tri Recs tool. I made 92 with the coral triangle and 96 with the white. These are 3" finished units. Looking forward to Part 2 on Friday.
Part 2 received on Friday, December 6, to make 100 of these "chevron" units, which will be 3" finished. These are using my teal (it might look more blue in the picture, but it is teal) and lime/chartreuse fabrics, along with more neutrals.
Part 3 received on Friday, December 13, to make 200 - 2" half-square triangle units (using my coral and lime/chartreuse fabrics), which will be 1-1/2" finished. Using 100 of these units, we are to make 25 pinwheel units, which will be 3" finished. I used the Easy Angle ruler to cut my triangles and have made 100 of the half-square triangle units and six pinwheel blocks so far. Will have the rest finished before Part 4 comes out on Friday.
Part 4 received on Friday, December 20, to make 120 4-patch units that will be 3" finished, combining teal and coral this time. Am still working on them, but have finished enough to share here.
Part 5 received on Friday, December 27, to make 100 of these units, using the 100 half-square triangles made in Part 3. Neutral triangles were added to either side of the half-square triangles already made, then a large purple triangle was added to finish the Part 5 unit. This unit, as all others, will be 3" finished. I still have about 50 more to make, but I have been grand-dog and great-grand-dog sitting this weekend and have had numerous interruptions. I will have them all finished before Part 6 comes out next Friday, though. And I am hoping that the final layout will be revealed soon!!
We were surprised with Bonnie sending us the final layout for our Celtic Solstice on New Year's Day. Here's what I have finished so far. I am planning to add an additional border at the top and bottom, then two more borders all the way around to make it a rectangle shape for my granddaughter's full size antique four-poster bed. Still have to shop for the border fabrics, which I plan to do at the end of the week. Will post the finished top later.......
Saturday, December 28, 2013
Prayer Flag
About three years ago, my daughter Dana and I went to visit my sister in North Carolina. We visited some quilt shops while there and I purchased some fabrics from the Prayer Flag by April Cornell for Moda line to make Dana a new quilt for her king-size bed. I had these fabrics laid out recently and someone saw them and asked what I was making. I told her it was a quilt for Dana. She asked if it was going to be a surprise. I said, probably. She was with me when I bought the fabric, but that was almost 3 years ago and I'm sure she has completely forgotten about it by now. Sure enough, when I got the top together and showed it to her, she didn't remember the fabric at all, but she LOVED it!
I had a layer cake, a jelly roll, and a few other fabrics in various yardages. I just made strip blocks from the jelly roll and alternated them with the layer cake squares. Used the extra fabrics for borders. It finishes at 105 x 105. Still have to bind and hem but maybe it won't take as long to get around to that as making the top!!
Tuesday, December 24, 2013
Log Cabin
When I attended the Huntsville Heritage Quilters' Quilt Show in Huntsville, Alabama in October, I purchased a Log Cabin Trim Tool by Creative Grids from one of the vendors. Starting with a 2-1/2" square in the middle, you can then add any size strips that are at least 1-1/2" wide up to......whatever. You sew two light strips and two dark strips around the square, then using the tool and lining up one of the squares on the tool with the 2-1/2" middle square, you trim all four sides and end up with a 4-1/2" square consisting of the center square and four equal 1" (finished) strips all the way around. Repeat that process two more times and the last cut will give you a finished 8" square. I pulled strips from my boxes of strings, boxes of pre-cut 2" and 2-1/2" scrappy strips, and cut more from scraps. When I finished, I had a total of 56 blocks. Had no idea how I wanted to lay them out, but found a layout in one of my Quilter magazines that gave me this idea. It took only 42 of the blocks, but I was able to sort them into enough blocks of each color to lay them out by rows of certain colors. I still plan to add borders to this to make it queen size, but wanted to go ahead and get a picture while it still fits on my design wall.
Finally got some borders on this top with fabric from my stash. Now to find just the right backing for it...........I will have to go shopping!
Subscribe to:
Posts (Atom)